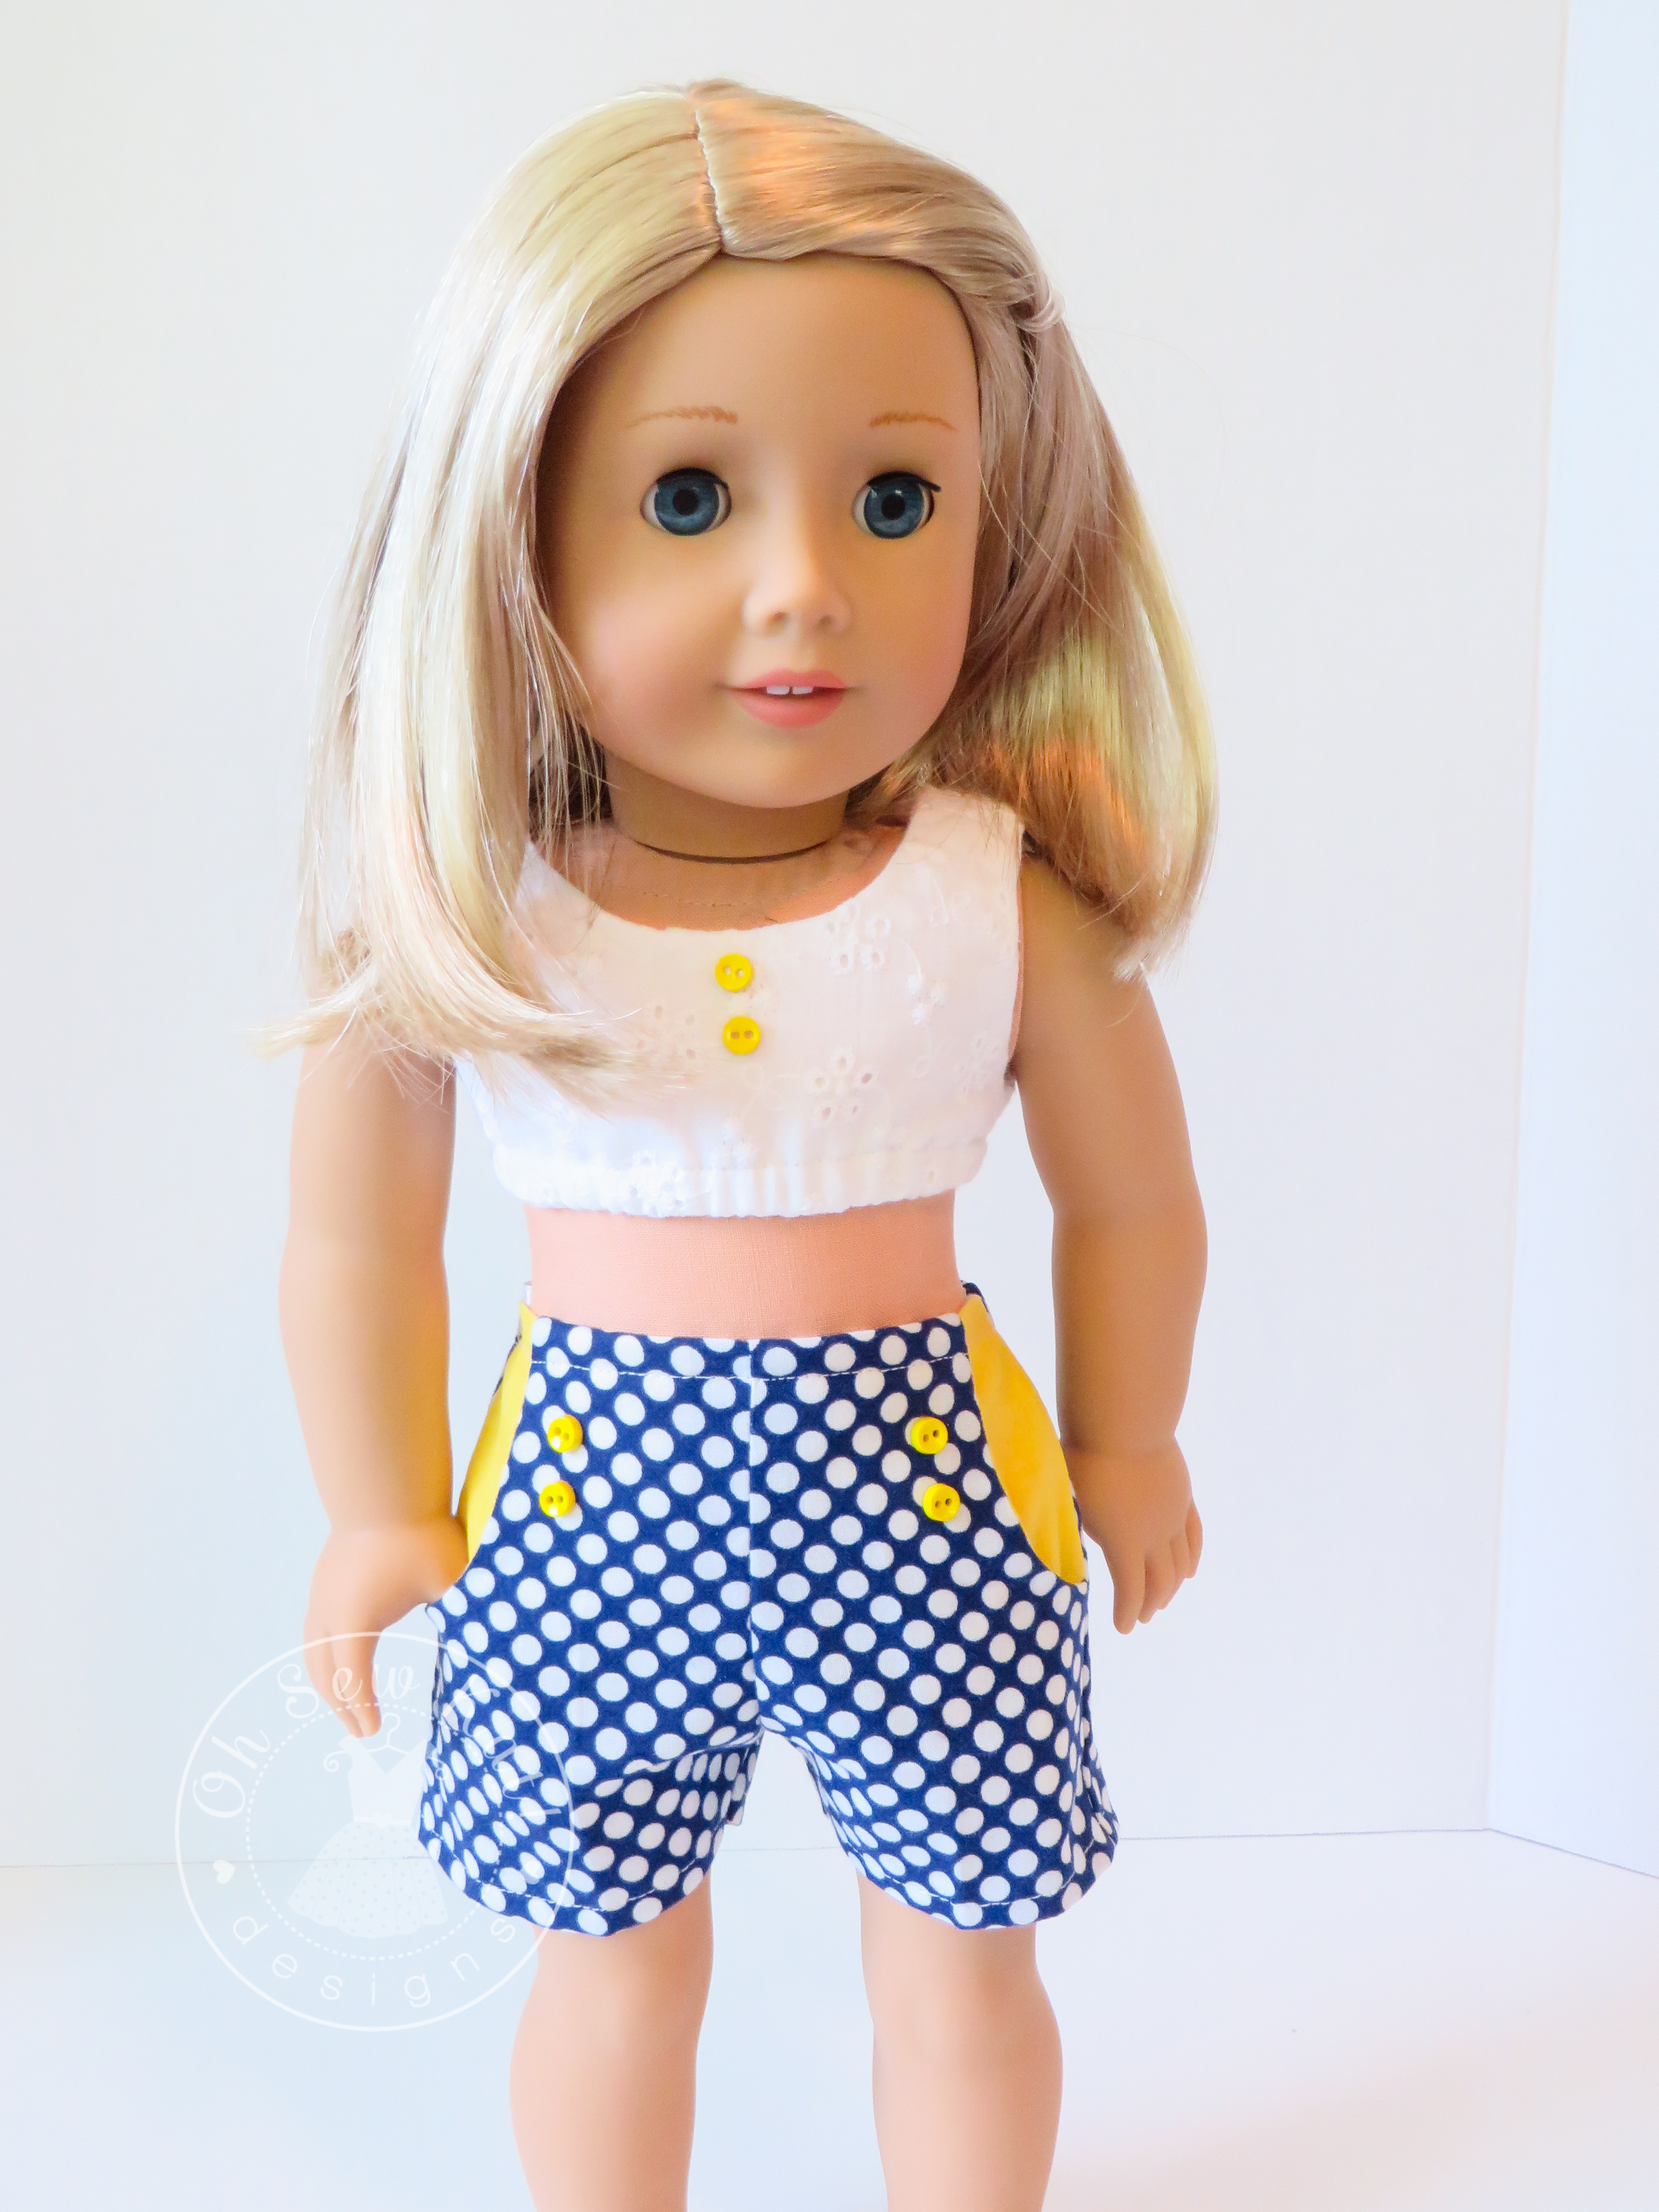
It’s summertime!!! You know can already make a lot of different looks with the Sandbox Shorts pattern, but here’s a tutorial to show you how to put the pockets on the inside, instead of the outside, for a whole new look!! You can use the same fabric, or give it some contrast. This will work on all three versions of the Sandbox Shorts…the regular cut, Bermuda length, and the wide leg shorts. I used the regular cut. Kelly loves her new shorts! Find the Sandbox Shorts pattern HERE. This pattern is available in five doll sizes, and this tutorial will work for all of them.

Make the Sandbox Shorts with the patch pockets on the Inside.
Make your 18 inch doll a pair of shorts with working pockets.

Start with the Sandbox Shorts pattern first!! It looks like this:

Step 1. Print your pattern pieces for the view that you need. Print one extra pocket piece.
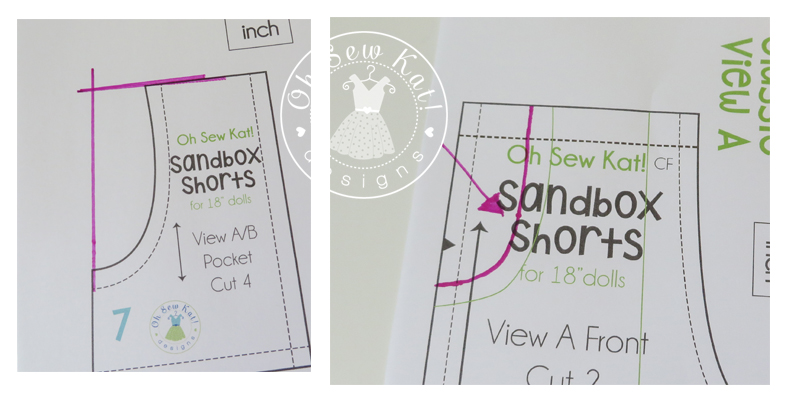
Step 2. Cut out one pocket and the shorts back as usual. You will make two changes to the other two pieces (Front and extra pocket). On the front, draw a new line 1/4 inch off the green pocket placement line, along the outside, front pocket edge. This is your new cutting line. (Marked in PINK on the photo) Using a ruler, simply extend the top and outside edge of the additional pocket piece, to make it more of a rectangle. Cut these two pieces out.
Step 3. Decide your fabrics and cut out all of your pieces. Cut 2 fronts, 2 backs, 2 pockets, and 2 of your new, extra pockets. Keep the pocket pieces pinned to the paper patterns until you need them so you will know your right sides and top edges. 😉
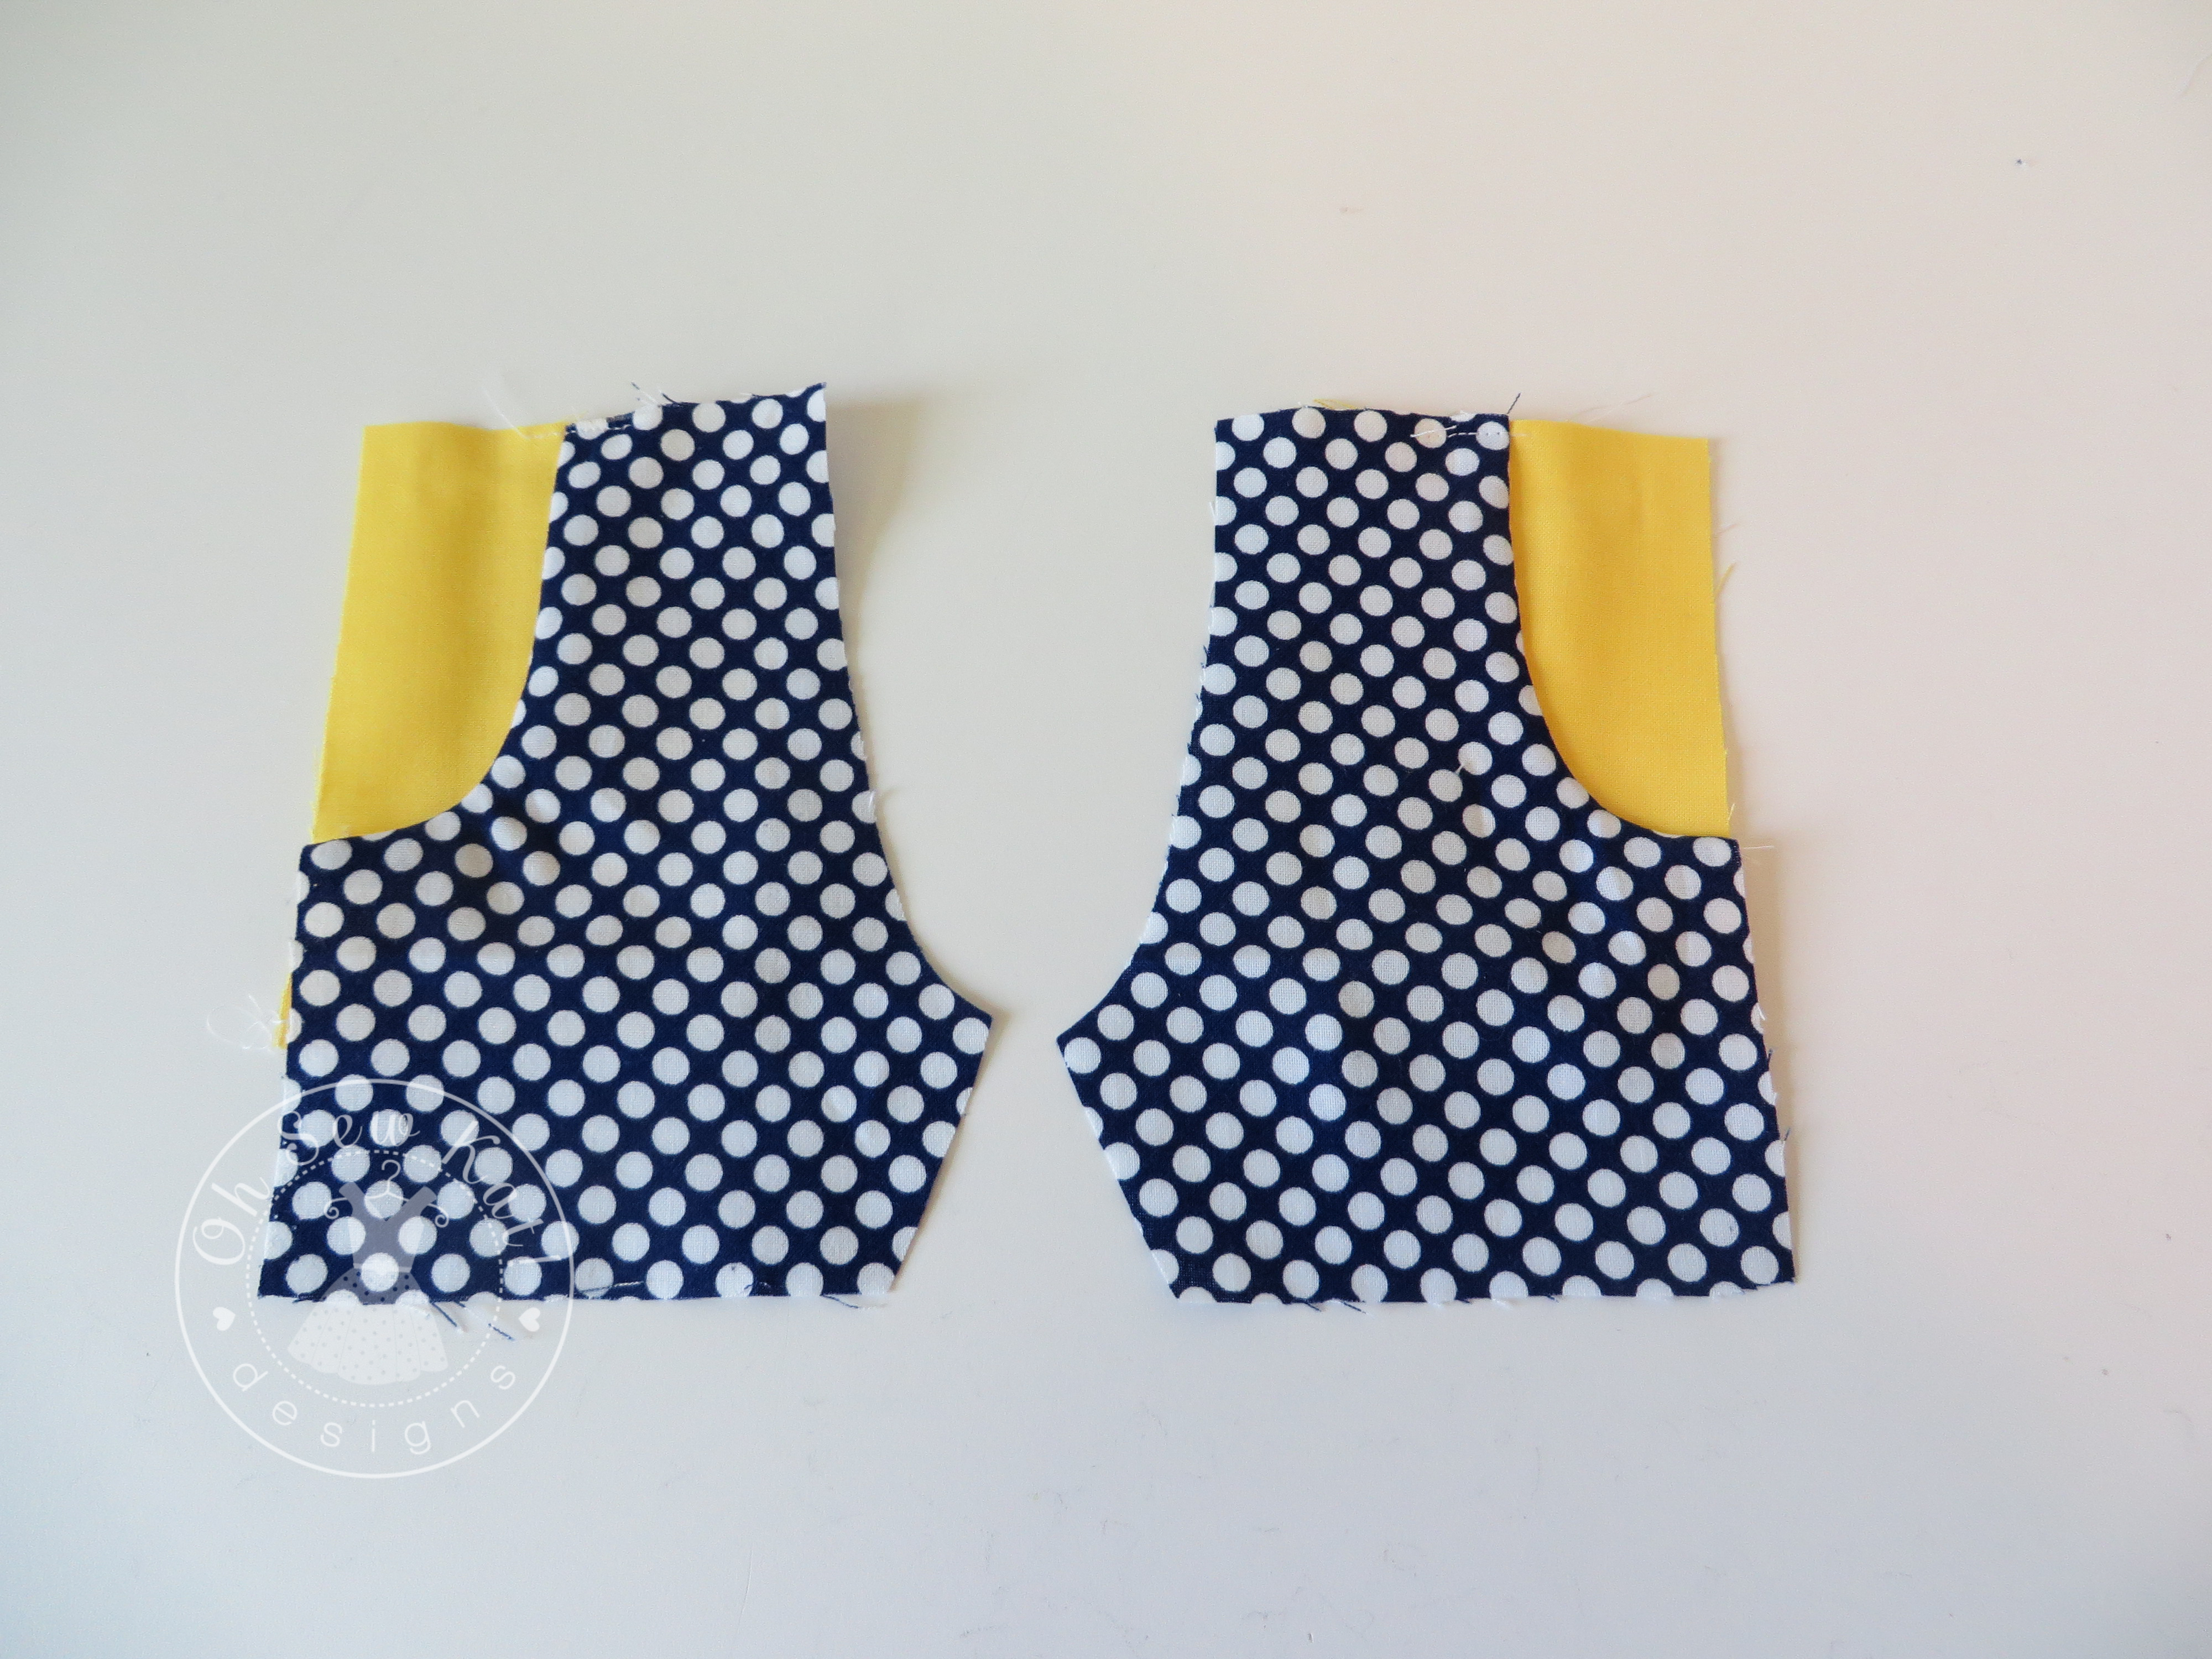
Step 4. With right sides together, place the regular pocket on the shorts front, and stitch the curved seam. Press, clip curves, and turn to the wrong side, pressing to get a nice, sharp edge. Top stitch if desired. Repeat for other side.


Step 5. Turn your shorts Fronts over and with the wrong side of the fabric facing up, line up your additional pocket, with the RIGHT SIDE Facing down, towards the shorts front. Pin only the two pockets together, leaving the shorts Fronts free. Stitch along the long side edge and the bottom. The short edge can be stitched, but it will end up in your side seam anyways.


Step 6. Press carefully in place, and baste the top edges where the pocket and the shorts meet to hold them together correctly.

Step 7. Continue following the pattern directions as written, starting with Step 6 (sew two fronts together and two backs together at curved edges.)

Doll Shorts: Pocket Tutorial
Share your new shorts on my facebook page or on instagram with hashtag #ohsewkat.
If you don’t have the SANDBOX SHORTS pattern yet, you can find it on these wonderful sites. Sandbox shorts on Etsy
You can also make Sandbox Shorts for Disney Animator Dolls, A Girl for All Time, Bitty Baby, and WellieWishers™
Make doll shorts with patch pockets or move pockets to the inside with this easy tutorial.
Download and stitch up these cute shorts today! See more ways to Step Up Oh Sew Kat! patterns on the Tutorials page and see what others have done with the Sandbox Shorts pattern in the Inspiration Gallery. Need some tiny buttons? I used these found on amazon.com.


Enjoy making both versions of these adorable doll shorts this summer! See more Sandbox Shorts ideas here and here.


Kat, I love these!
LikeLike
Thanks, Linda!
LikeLike